Voice preset edit
The “Voice Preset Editing” in the tuning area at the bottom of the main screen is used to edit the voice preset settings.
Reference: Voice Preset
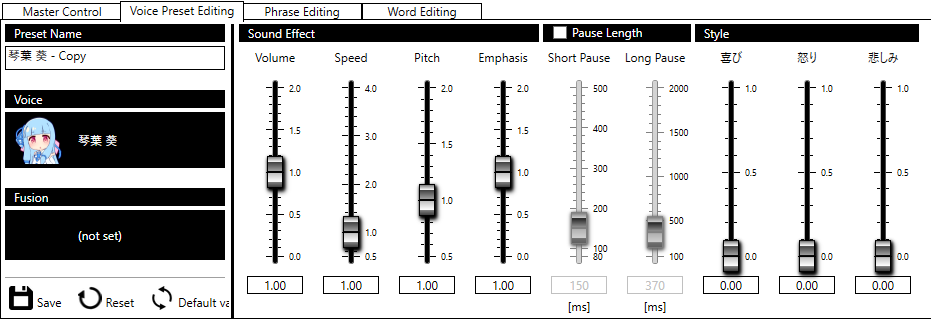
Setting
- Preset nameDisplays and edits the name of the voice preset. Editing preset names will take effect immediately.
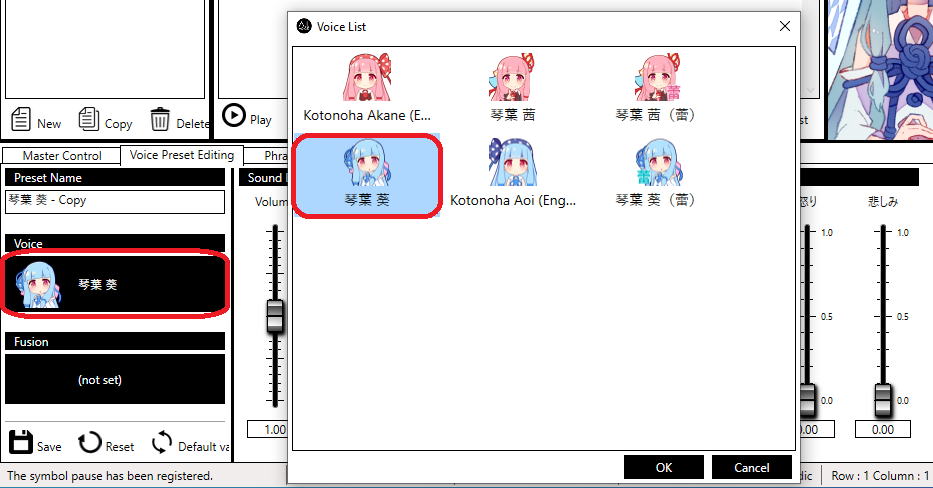
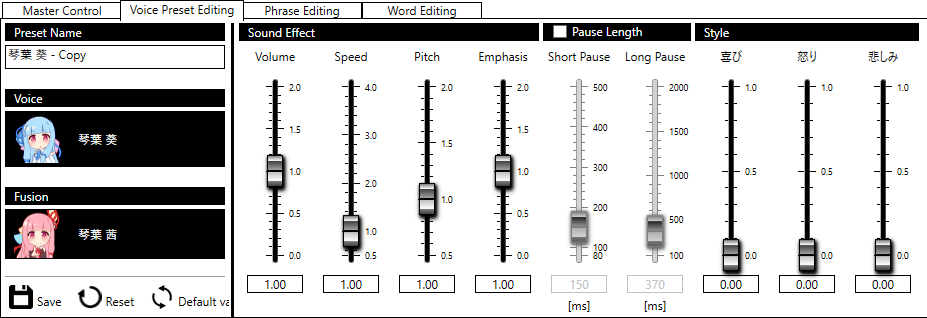
- VoiceWill display and change the voice in the voice preset.Pressing the displayed voice will display the voice list.Select a voice and press the “OK” button to change the voice in the voice preset.
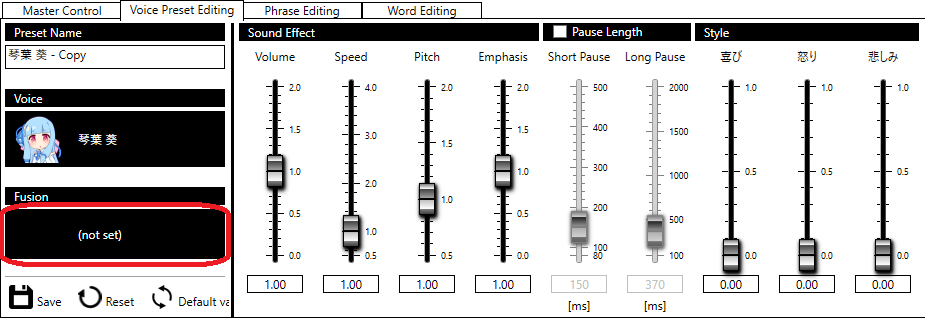
- Fusion“Vocal sound” is a function that merges the “speech style” from other voices with the voice selected in the “Voice” section above.See the section on “Voice fusion” for more information.* To use this feature, multiple voices that support the fusion function must be available.
- Voice effectsSets the voice effect for the voice preset. Refer to the “Voice effect” section of the master control for more information.Whether “Expanding the Sound Effect Value Input Range” is enabled or disabled in the preferences, the maximum, minimum, and initial values for each voice effect value are the same as those of the master control.* The only exception is the volume at which text is read out. The range is from 0.00 times to 2.00 times. The initial value is 1.00 times.
- Length of pauseSets the pause length for each voice preset.Checking the title checkbox enables the set values for each voice preset and disables the short and long pause settings for the master control.See master control “The length of the pause” section for the contents of each value.* It cannot be used with the voice presets for English and Chinese voices. Also, it will not be displayed in environments where Japanese voices are not installed.
- StyleSets the style for each voice preset. The type of style varies for each voice.
Save voice preset
The setting values other than the preset name will not be saved until the voice preset is saved. Click the “Save” button to save your edits.
* When a voice preset has been edited, a ★ will appear to the left of the preset name in the voice preset list.
Return to original state
Will reset each setting value of a voice preset, except the preset name, to its pre-edit state.
* Will restore the status where the ★ mark is not displayed.
Return to initial value
Resets the voice effect and pause length settings in the voice preset to their default values.
Voice fusion
Voice fusion is a function that creates a new “voice” by fusing the “vocal sound” of one voice with the “speech style” of another voice.
* Dialect (Standard / Kansai dialect) and available styles are those of the fused voice.
This makes it possible to apply a pseudo style to a voice without a style, or to make a speaker of standard Japanese speak with a Kansai dialect.
* This function is only available for Japanese voices with the fusion function.
Example)
- Fusion 琴葉 葵(蕾) with 琴葉 葵
- 琴葉 葵(蕾) does not hold its own style but can use the style of 琴葉 葵
- Fusion 伊織 弓鶴 with 琴葉 茜
- 琴葉 茜 speaks with a Kansai dialect therefore will speak with a Kansai dialect.
- 琴葉 茜’s style is available.In this combination, the available styles match in “joy, anger, and sadness”, so there is no change in the display, but it is the style of 琴葉 茜.
Settings for fusion
- Create voice preset.

- In the “Voice Preset Editing”, under “Voice”, select the voice you want to use for the “Vocal sound”.* You can skip this step by creating a voice preset from the voices you want to use as the “Vocal sound”.
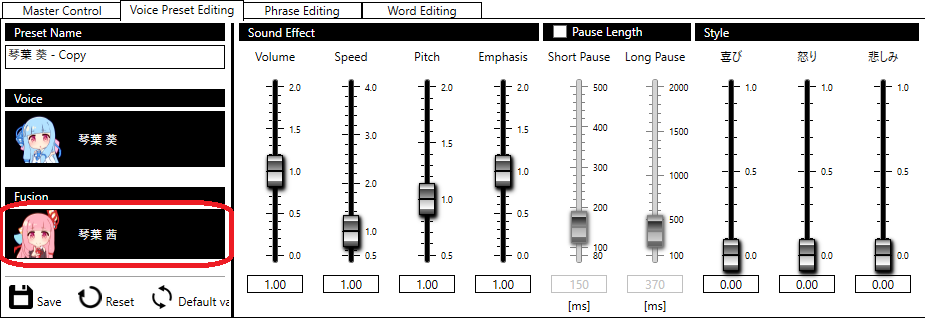
- Click the “Fusion” button in the “Voice Preset Editing” tab.* In the initial state, it is displayed as “(not set)”.
- From the list of “Voice to fuse” on the fusion screen that appears, select the voice you wish to use for speech methods.
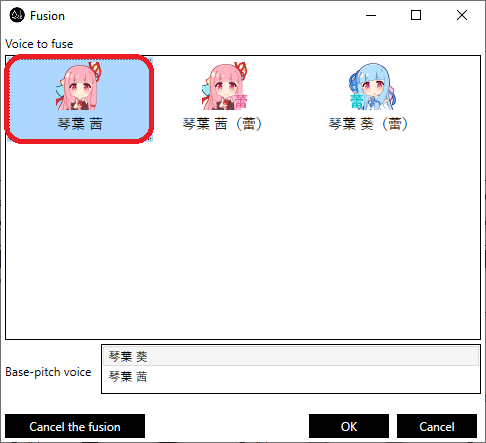
- Select the voice that will be used as the base for the pitch from the list of “Base-pitch voice”.The pitch of voice selected here will be the standard for the voice pitch of the voice preset after fusion.
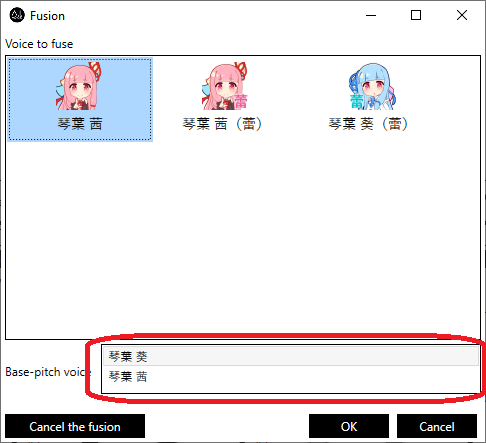
- Press “OK” to close the screen and apply the fusion settings.
Cancel fusion
- Click the “Fusion” button in the “Voice Preset Editing” tab.* If fusion is set, the icon and name of the fused voices are displayed.
- Click the “Cancel the fusion” button on the displayed fusion screen.
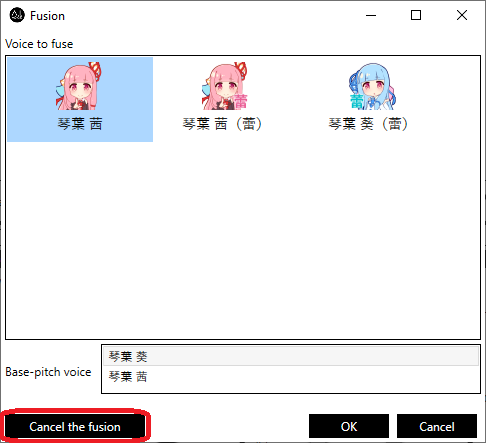
- Press “OK” to close the screen and cancel fusion.
